Showing posts with label natural dyeing. Show all posts

Wednesday, 24 June 2015

Dyeing along with natural dyes


So it has been a little quiet on the bloggy front. I imagine we all go through phases where the impetus to write is not there and things just fall into a lull. Sometimes it is like that with creative flow and the urge to produce wanes. Mind you this is rarely a problem, as I always have a backlog of things that I wish to do. Sometimes I plan to start one thing and instead fall into another project without thinking it through.
It seems to me that once I start dyeing wools, I can't resist starting a project to utilise them.. Hence yet another hooked project started on impulse, just because some yarn came in out from the cold and hung in my room for less than one day.
I have managed to finish the second top (to match the first Pillow I did.) The one hanging in the first picture is not complete, but having tried to take a photo at night with flash did not produce a nice quality picture. That top was finished last week and is still waiting to be sewn into a cushion... and still I started another project!

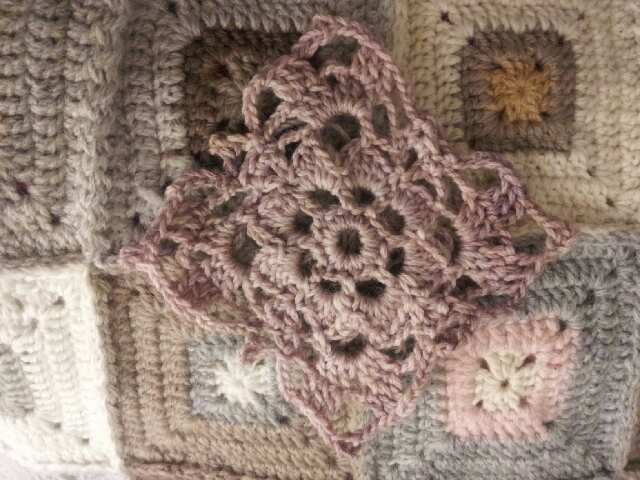
This time the wool is thicker - a 8 ply I think and makes a bigger square.
I am using a 1970's Vogue crochet pattern , the square is designed for a baby blanket  in finer cotton . I think it comes up a treat in a bigger hook.

I must say I am jolly pleased with purple carrots! I have extracted such a range of colours from them. It may be due to the length of time spent on the stove top cooking, or soaking time or due to the different wools and manufacturing additives or just the type of pan I cooked it in (aluminum or steel)- alum is a mordant or the containers I let the wool and dye mixture rest in (honey and yoghurt containers- both which also can react with dyes) Whatever the reason the colour range has been fun to watch.


The skein on the left appears almost grey with a hint of purple and on the right a stunning magenta.


Top left : purple carrot- first batch
Top right : purple carrot - first batch second night, reheated dye
Bottom left : acorn dye
Bottom right : pomegranate dye

Tomorrow, if I have time, I will complete my second pillow and plod along with my crochet or knitting depending on the whim that takes me.

Hoping all is well with you and big hugs to Kim and husband xxx

Monday, 4 November 2013

Naturally Dyed


Some naturally dyed scarves that were originally a little plain and very muted
But after dip dyeing in a hotter colour really have a bit of pizzazz don't you think?


Saturday, 23 March 2013

Monkey Quilt Cover (Duvet) and Natural Dyed Materials


I've utilized the monkey (chimpanzee) print to make a quilt/duvet cover for a single bed.
I utilized the naturally dyed pieces of cotton that I have been making over the last months. The dyed pieces  include eucalyptus with iron (grey material) , eucalyptus (deep brown),  fennel heads  (light brown/green), young fennel leaves (yellow)


The backing is a patchwork of strips of material. I had just enough to complete it


The only thing to add is some buttons and straps to hold the quilt together at the bottom. I've included a pocket to slip the quilt underneath to help stop it from falling out of the cover when in use. I threw it on my daughters bed just so you could see it on a bed.
I'll be selling this one when finished as my boys are too old for this and my daughter wants to stick with her Paris theme. It was a great exercise in utilising my printed material. I'm actually pretty happy with it and really like the effect and colouring of the naturally dyed pieces with the print.


Saturday, 16 March 2013

Lampshade and Natural Dyeing Pieces


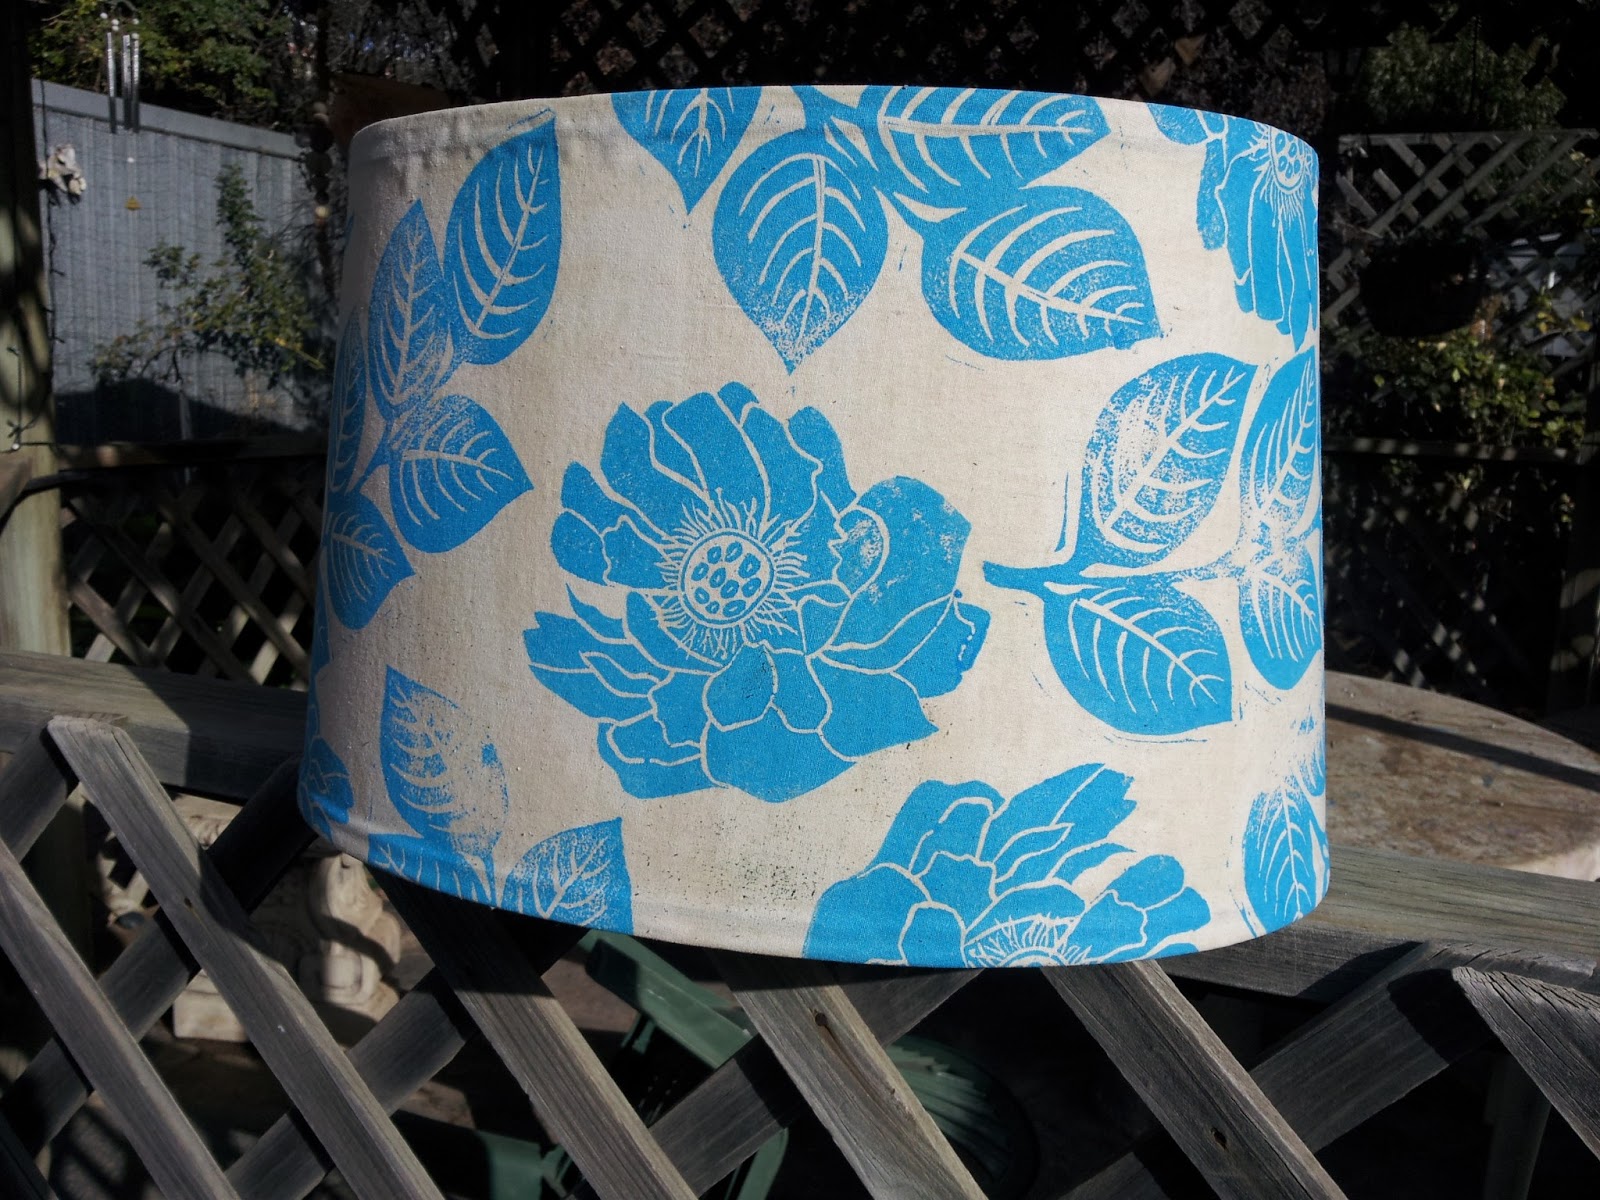
My thrifted lampshade, that I bought a couple of weeks ago, almost completed with new shade of hand printed fabric. I just need to find some tape to tidy up the inside edges. 


I haven't got a light fitting that I can actually hang it from so the next best thing - hang it in the bush - what any sane person would do!


Once again I had problems getting the leaves to print evenly, but at least you know its hand printed


Some solar dyeing with eucalyptus leaves giving off a nice orangy brown.
This piece of materrial has been an on going experiment and has been roasting on and off in the sun for a month. I was hoping for a leaf imprint but I think that to obtain that you actually have to leave the rolled up material alone and not investigate the material weekly  to see what  is happening.


Some of the naturally dyed pieces waiting for my next project - thought I would utilize them with the monkey prints. That little exercise will have to wait until my next days off.


 And some doilies that have been given a colour treatment in berries. They actually look pinker when seen by the naked eye


Oh and my daughter loved her new monkey t-shirt

Thursday, 24 January 2013

Cross Quilt

My naturally dyed fabrics have been cut and sewn at cross purposes!
I've been hankering to use some of my recent fabric dyed materials and used four of the five colours I've produced   The light and dark pink are the same berry picked weeks apart . The grey is eucalypti and the green / yellow is fennel. I must say that I used the fennel heads, instead of the green leaf this time and the material stank as it was fermenting and when it came out of the bucket. I stupidly didn't wear gloves and even after washing my hands they still reeked of fennel. Phew wee!!!! 


The top of the quilt (above)


(The bottom of the quilt) No patttern , just piecing larger than the top so there is plenty of room for movement when placing the layers together.


(My quick plan for the quilt, so that I wouldnt get lost on the way. You can see I added two extra lines later, I decided the quilt wasnt big enough.


The materials before use.

Organizing rows to be sewn  

Working on my next quilt design. I'm calling it industry. The stacks of triangle kind of remind me of warehouse buildings. I'm going to swap the large square blocks with the block of smaller triangles below and see what that looks like.
The black and white print below is my next attempt at silk screening (maybe) I'll at least make a stamp of it.


A this is a line drawing that I thought I would sew as a cushion. I picked up the lovely paper in an op shop yesterday


Saturday, 19 January 2013

Printing, Dyeing and Op Shopping


Well I've attempted my first silk screen printing.

It's definitely not a success but its not the total dismal failure I originally thought it was. The image I made was a double image of the black design below. 
Initially after exposing my screen and attempting my first print I got nothing at all. So slightly dejected feeling I went to wash off my screen and gave it a bit of a scrub with hot water. As I scrubbed away I noticed that the screen was being exposed a little more and the water was passing  through the screen easier. I couldn't entirely get all the blocking agent to be removed but at least I did obtain some of my pattern. 
Things I learnt from this attempt. 1. Make sure I protect the floor before placing my screen under the bed because now I have to clean up under the bed. 2. Find a photo exposure bulb so I can expose my screen correctly. I exposed my screen in the sunlight and I wasn't sure how long to leave it out there. 3. Make sure I use a slightly thicker image / design, unless I want to go to a printer to expose my screen for me. Fine lines are harder to obtain but I was unsure what the manufacturer meant by fine lines.


 Dye pots

I was out in the back yard and my sisters dog whom was visiting for a few days pulled out  the dried branches of the butterfly plant that my neighbour gave to me at Christmas for decoration. It has lovely green seed heads and attract butterflies to its scent. The seed heads had dried and as they layed on the lawn I wondered if I could extract some colour from them. The appear to have given off a yellow dye and have since thrown them and some material into a bucket to ferment for a while.


 These are cottons I have dyed in the last week.

Yellow from pomegranate
Pink / purple from ivy berries
pale orange from berries
Grey from eucalyptus

Co incidentally yesterday I received my copy of ecocolour by India Flint  and have been devouring its pages... her blog can be found here.
Inspired I took the dog for a walk over the back hill to collect some new colour. I picked fennel heads and know that I 'd get yellow - green dye from it.
The wind blowing through the grasses was quite therapeutic sounding


I picked this weed seed heads (below) and cooked up  a pot that is russet in colour


I had to photograph the thistle heads even though I didnt pick them (no room in my bag), because they are so beautiful.


 Also did a couple of hours of op shopping with a girl friend and found some blue and white crockery for my sister. A Johnston brothers and 3 Alfred Meakin cup and saucers sets. And some lovely pianola rolls (bargain at $3 each)  I'm thinking Ill use the paper to draw on and wrap presents and the reel will be used to wrap yarns around


 And a lovely green vase to sit with my other green glasses, all thrifted items, all under $5 each.


Take care I'm off to read my fab book. I'll show you sometime during the week. Its inspiring and makes me drool with possibility...

Saturday, 5 January 2013

Stamping


I've been doing a little stamping today. I first tried to stamp white fabric ink on to a naturally dyed cotton but it just didn't get the definition of line that I was hoping for, so once it was dried I restamped with black to give a kind of echo effect. It kind of makes the mushroom pop out more. This is just a scrap that I was doing in between stamping a dozen mushroom bags for a friend.


Drying sheets stamped and ready to be set with heat of the iron. Thank goodness it is cooler today

Here is a pomegranate print made up into a pull string bag today, the pink fabric is also naturally dyed with same berries as the brown of the mushroom bags above. Its amazing the differences in colour extracted just a few weeks apart. Same material, same plant!


A here is a photo of my lovely chairs rejuvenated by my father. They make my other chairs look very ugly and make me  very desirous to find some more chairs like these. There is no staining on these chairs just natural wood and wax. I have been instructed to give them a couple more waxes to lift the shine and ensure it penetrates the wood to protect it. I love them!