Hi! Welcome to my life and the mess that I have fun creating everyday. I am an Australian, mother of three and nurse to many. Passion resides in the creative arts and finding joy in the daily colour of life I would love to hear from you! With respect if you list or print content from my pages please link back to me
Showing posts with label air dry clay christmas decoration. Show all posts
Saturday, 2 November 2013
Little Visitors
We had a little visitor this afternoon. The dog was going ape in the backyard and normally she is pretty quiet. I wandered outside to see this little fellow strolling past.
He wasn't very happy with Matildas barking and puffed himself up nice and fat and let out a few hisses. He toddled off to the road toot sweet, really didn't like our company. The warm weather must be bringing out the blue tongues and that means the snakes will be out and about as well. That 's the end of walking through the back nature reserve for a while, as snakes are particularly aggressive at the beginning of warm weather/ summer
Finishing off Christmas wreaths
Tuesday, 24 September 2013
Christmas Wreath No.2
Home today from work and resting on my bed. Every time I cough my temples throb and my sinuses are completely blocked despite taking medication to dry up the passages. I've started another wreath with materials on hand. I originally started with the star shaped pendant but chose to remove it as I hadn't incorporated enough of the colourings that are present in the pendant.
I made some yellow and white flowers last night - not an overly taxing job, really just rolling balls and squashing them to form petals. I'd slept most of the day and was wide awake looking for something not too energetic to do.
Wreath two of three under way. I thought that I would collect so more gum nuts to fill the gaps, maybe when I feel less heady.
Here is the T shirt without the tape
For more Christmas wreath ideas go and here and here and here
Sunday, 15 September 2013
Christmas Wreath
Last weekend I spent some time twisting the vine that has gone wild in the back yard,or at least the strands that I could reach, into wreaths. Collections from my walks have dried and these gum nuts were laying idle, screaming out me to be used. I had some left over stars from last Christmas and some excess flower beads from the necklaces I have made. Put them all together with wire and a hot glue gun and you get a pleasing pop of colour on an otherwise ordinary wreath.
A little more cleaning up of the glue and maybe a few more gum nuts on the right hand side, some ribbon for hanging and it will be finished.
One down and two more wreaths to go.
And...
This is a wall of a private house near the neighbourhood kindergarten that used to get graffiti all the time....but not anymore.
Wednesday, 28 November 2012
Wreath - same but different!
Whilst having a messy table I figured I might as well continue my mess and make up a second wreath. This wreath has a slightly triangular shape and I was running out of seed pods and ribbon. I improvised by picking poppy seed heads out of the garden and using some old chandelier crystal and pearls to fill the gaps.
Not enough ribbon to make a tie, so some wire and pearls will suffice. Personally I think this is a waste of pearls but when you don't have a car to jump into you make do - far more environmentally friendly as well. I must admit to jumping into the car on occasion when I have to have a certain item for my craft making and I just can't wait
Better go clean up my mess before picking up my car from the mechanics - my brother, always handy to have a mechanic in the family.
For more wreath ideas go here and here and here
Not enough ribbon to make a tie, so some wire and pearls will suffice. Personally I think this is a waste of pearls but when you don't have a car to jump into you make do - far more environmentally friendly as well. I must admit to jumping into the car on occasion when I have to have a certain item for my craft making and I just can't wait
Better go clean up my mess before picking up my car from the mechanics - my brother, always handy to have a mechanic in the family.
For more wreath ideas go here and here and here
Wreath it is!
I decided that the weed come wreath really is a wreath!
I've grabbed some of my clay snowflakes and wired them onto the wreath. Some time ago (something like a year ago) I collected some seed pods from a tree at the side of the road. My original intention was to utilize them in flower arranging but they were a little awkward so since then they have been stashed in the cupboard for whom knows when. That would be now! I gave them a quick brush over with some white paint and hot glued them to my wreath. A roll of silver ribbon and some star anise and voilà you have a wreath !
Must remove the excess glue! Photographs really highlight all those little things you miss!
More Christmas wreath ideas found here and here and here
Saturday, 3 November 2012
Clay Swag
The spent poppy heads in amongst the corriander plant is pretty
I rolled out these clay discs and snowflake shapes when I made the clay lady- she has since fallen apart. I may try to rescue her or just make another - who knnows.
Can anybody tell me how to load a picture so that you can download it? I've drawn a Christmas stitchery of angels heralding in Christmas on a swag and thought it would be nice to share and make a stitchery together. My children haven't been very helpful in sorting this one out for me, either they really don't know how or are too busy. I'll take a photo and have a bit of a Google later but help would be appreciated. thanks
Stay safe be happy xox
Saturday, 27 October 2012
Christmas Star Hanging Ornament
I've finally found a spare moment to sit and thread the stars that I made weeks ago. half are now threaded and the rest will hopefully be done sometime this weekend. I find my time for crafting is very scarce at the moment with full time work and the usual run around for the family and the funeral arrangements added into the mix.
It is really nice to sit and play with crafty type things and take time out.
The clay flower has also been threaded on a hanger. I think I'll make some more flowers and bells as well.
I'm also currently trying to do some natural dyeing utilizing eucalyptus leaves infused with iron. I've discovered that you don't add the iron and leaves into the dye bath all together as everything turns grey. Its not a bad colour but I was hoping to retain the mushroom pink colour of my material and have a leaf pattern impregnated into it (maybe next time) I'll show my results when I unroll it.
Friday, 26 August 2011
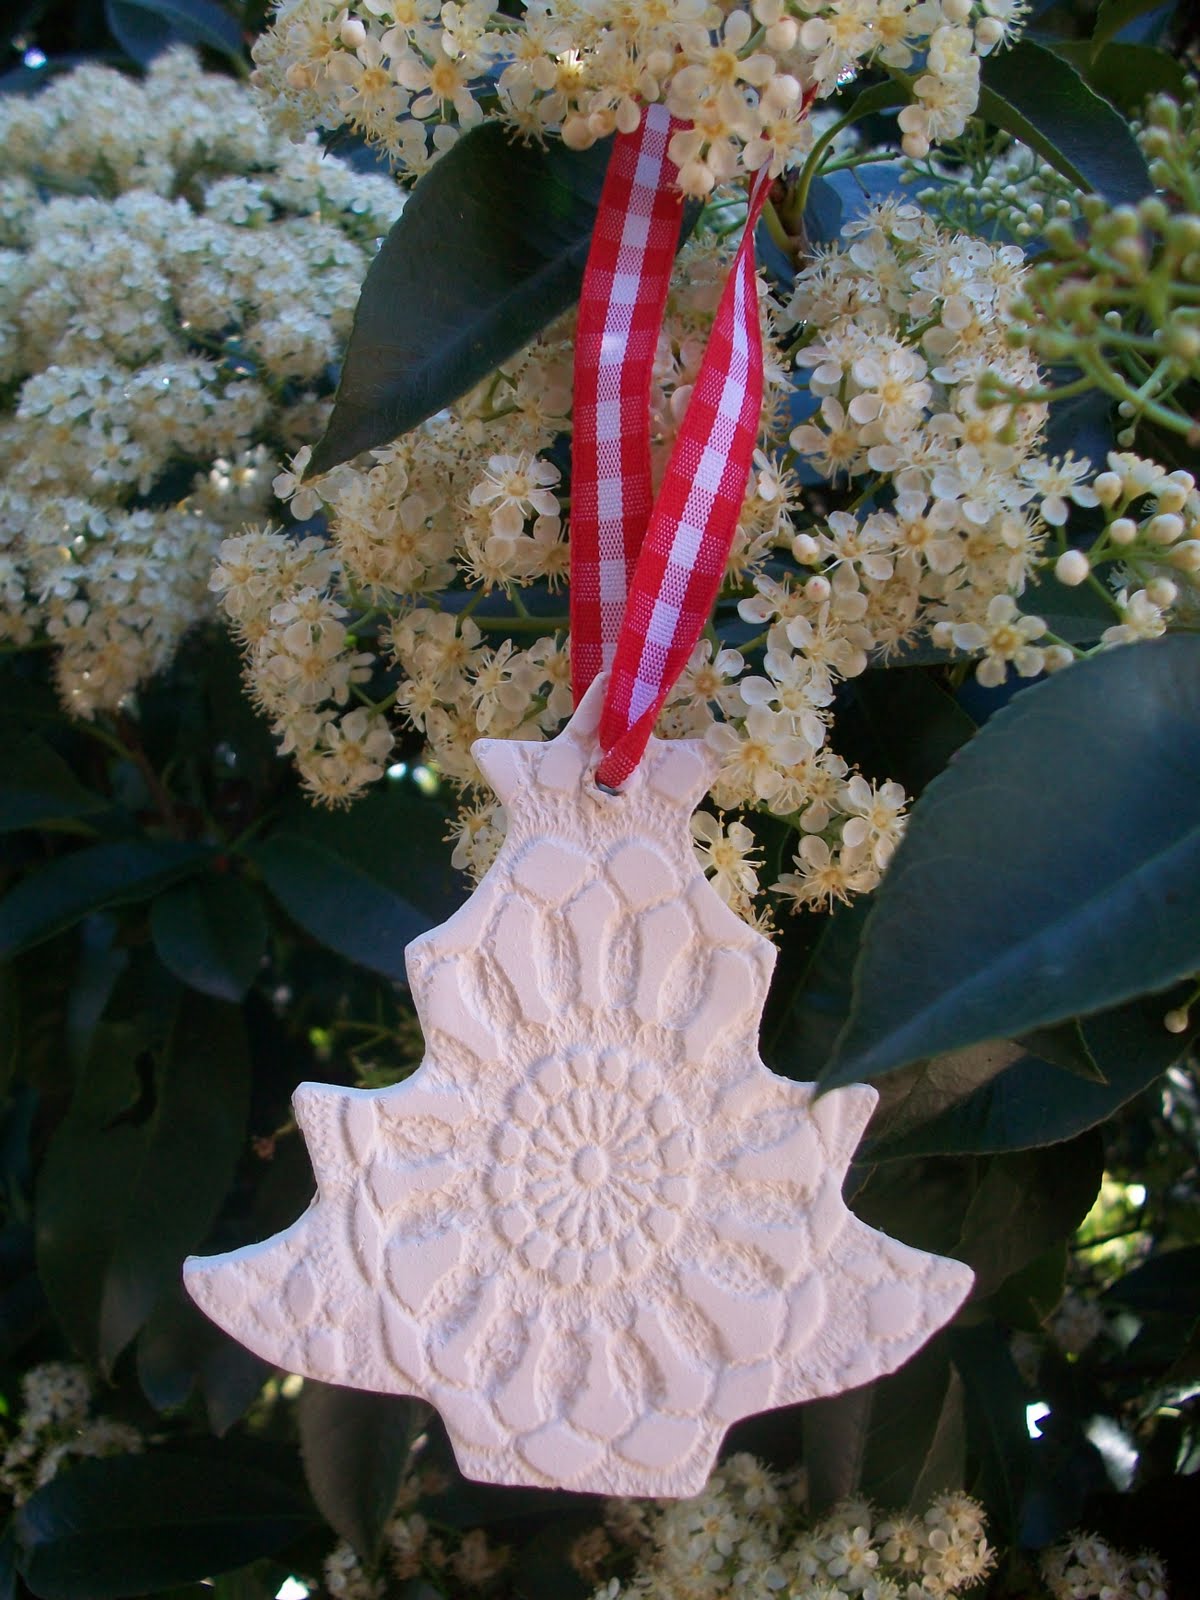
Fete Produce - 3 - Hanging Christmas Decoration
HANGING CHRISTMAS DECORATION
SKILL - EASY
COMPLETION 1 hour plus drying time
makes about 16 decorations
REQUIREMENTS
quantity of air dry clay - white - 500g
cookie cutter - Christmas tree, star, angel
knitting needle or similar pointed instrument
flat tray
paint if desired
ribbon to hang
two doilies with a semi open pattern
rolling pin
fine sandpaper
Take approximately 1/4 portion of clay and roll out with rolling pin to about 3mm thickness
position a doily on a flat surface
Lay clay on top of doily taking note of surface that will be imprinted by pattern on doily
Lay second doily on top of clay. Clay is sandwiched between 2 doilies
Run rolling pin over clay a couple of times to imprint surface being careful not to drag doily, clay should be about 2mm thick
lift upper doily
Press in cookie cutter shape on desired area of pattern. Lift clay and other doily, then remove doily and excess clay
Place shape on tray. Use needle to make hole for hanging ribbon
remove cookie cutter shape. Repeat process until all clay is used up.
Allow to dry. Clean edges with sandpaper
My decoration took a week to dry as the weather was very wet and there was lots of moisture in the air
If left over clay,cling wrap with plastic film to maintain moisture until next use
Paint decoration as desired and hang with decorative ribbon
Well done.
SKILL - EASY
COMPLETION 1 hour plus drying time
makes about 16 decorations
REQUIREMENTS
quantity of air dry clay - white - 500g
cookie cutter - Christmas tree, star, angel
knitting needle or similar pointed instrument
flat tray
paint if desired
ribbon to hang
two doilies with a semi open pattern
rolling pin
fine sandpaper
Take approximately 1/4 portion of clay and roll out with rolling pin to about 3mm thickness
position a doily on a flat surface
Lay clay on top of doily taking note of surface that will be imprinted by pattern on doily
Lay second doily on top of clay. Clay is sandwiched between 2 doilies
lift upper doily
Press in cookie cutter shape on desired area of pattern. Lift clay and other doily, then remove doily and excess clay
Place shape on tray. Use needle to make hole for hanging ribbon
remove cookie cutter shape. Repeat process until all clay is used up.
Allow to dry. Clean edges with sandpaper
My decoration took a week to dry as the weather was very wet and there was lots of moisture in the air
If left over clay,cling wrap with plastic film to maintain moisture until next use
Paint decoration as desired and hang with decorative ribbon
Well done.
Subscribe to:
Posts (Atom)